Self Adhesive Kitchen Wallpaper
Self Adhesive Kitchen Wallpaper
Couldn't load pickup availability
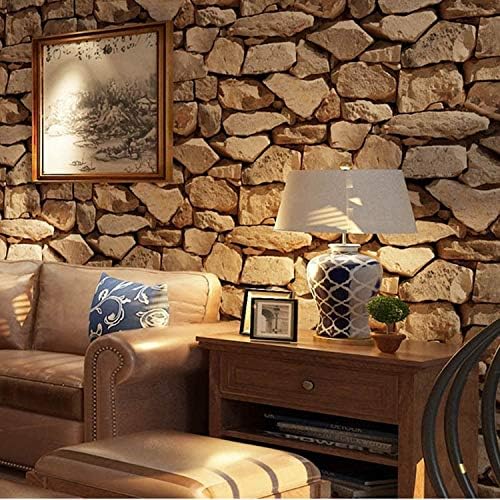
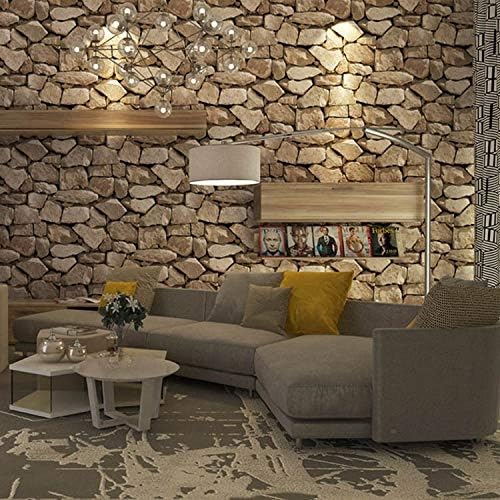
- TILE STICKERS: The tile pattern wallpaper easy to hang, can easily decorate walls, used on kitchen bathroom walls,stair steps and smooth floors, used in place of real tiles to economical and affordable ,looks retro and stylish.
- EASY TO CLEAN: Made of heat-resistant PVC contact paper thick and durable, safe and environmentally friendly, the surface is frosted, non-slip waterproof, moistureproof and oil-proof, stains can be cleaned with a damp cloth
- SELF-ADHESIVE AND REMOVABLE: Adhesive vinyl paper has adhesive on the back, just peel and stick it, it will not leave adhesive on the surface when removing the sticker, it can cover stains and decorate the old furniture,It is a simple ,fast and economical way to renovate furniture.
- EASY TO USE: The back of the wallpaper is provided with a grid mark, which is convenient for accurate measurement and cutting. It can be cut into any size with a utility knife. furniture decorative paper is self-adhesive type.Rip and paste at the same time, with the scraper can be scraped flat. Multi-roll can also be perfectly stitched at the seam
- 100% SATISFACTION GUARANTEE: If you have any question about the product you received, please contact us without hesitation, We would try our best to help you and improve your purchasing experiences
- Description
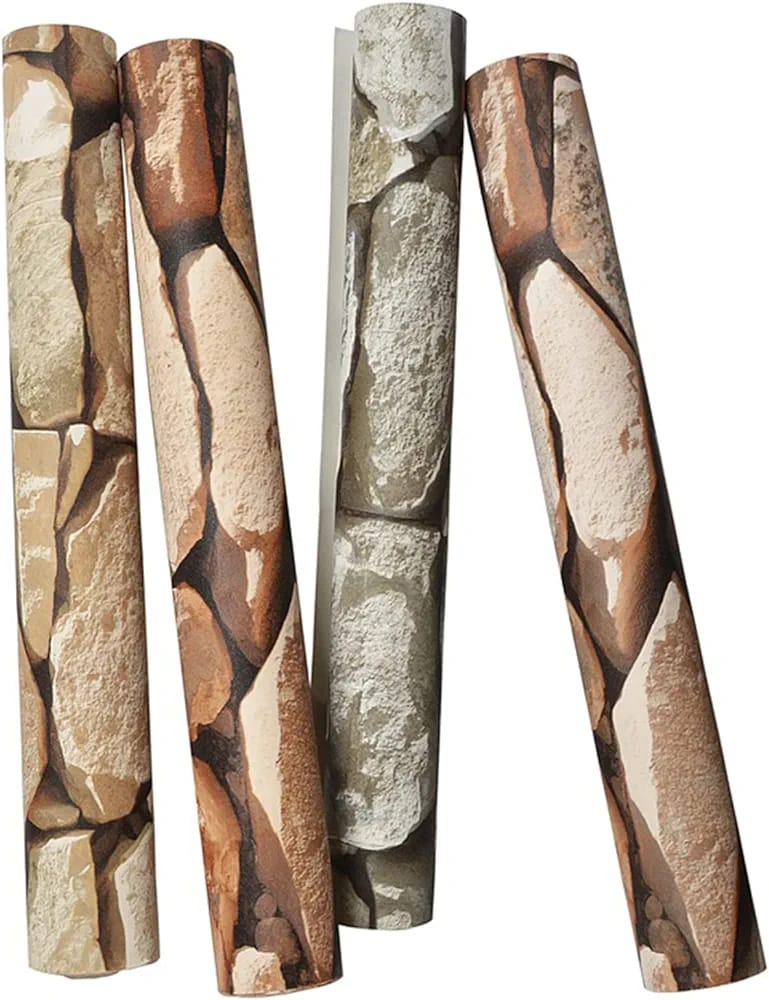
- Moisture-proof wallpaper, self-adhesive marble wallpaper, kitchen floor, wall, decoration, bathroom tile, wallpaper
Features
- [Thickness] Approximately 0.2 mm (with bottom paper)
- [Applicable places] Fully furnished bedroom/TV background/full-storey living room/study/corridor/sleeping room
- Home renovation
- [Commodity features] Durable and easy to maintain
- [Decorative effect] Simple and generous, with rich colors
- [Adhesive or not] Self-adhesive wallpaper, with adhesive, sticky after tearing off
installation method
1.Measure the height of the sticker, and cut out the sticker according to the measured specifications (you need to cut more up, down, left, and right)
2.Lay the sticker on the surface of the object to be affixed, and the four sides should be aligned with the object to be affixed (this step is very important). After alignment, tear off the protective film on the back and fix the sticker on the object.
3.Tear off the protective film on the back,-while using a soft cloth towel and other tools, gently flatten the sticker from the center to both sides to expel the air bubbles
4.If there are wrinkles, you can slowly tear them apart and then flatten them. If there are bubbles, use a plastic spatula to squeeze out the bubbles on the surface.


